Manual: How To Correct Your TSC Potato Head's Legs

OK, so this forum has been begging for this topic for a while now. Don’t get me wrong, there’s been some really awesome Mr Potato Head leg modifications on the Toy Story Collection topic, but no one else posted their process on how to do this yet. Anyway, I just got really fed up one day with my spud looking like he was a product of steroids gone wrong so I decided to modify him myself as well.

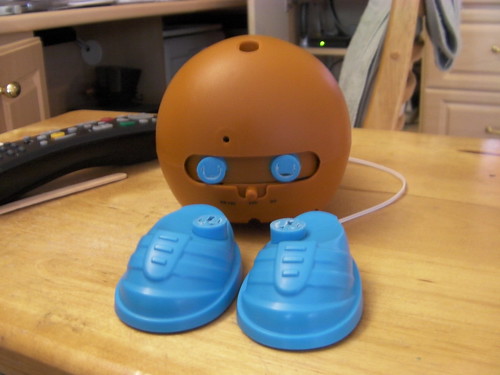
Here’s what he looked like before:

and here’s after the surgery:

Nothing too hard right? Now, this is just the method I used. I just really wanted both the electronics to function at the end, as well as have the shoes removable, like a real Mr. Potato Head. If any of you have any suggestions on how to improve my technique, by all means share.

Materials Here’s what I used:
1) Your Toy Story Collection Potato Head (duh)
2) Hack Saw (or any kind of sharp sawing tool)
3) Metal File
4) Epoxy or Hot Glue
5) Ruler
6) Spare Screwdriver (for part 3)
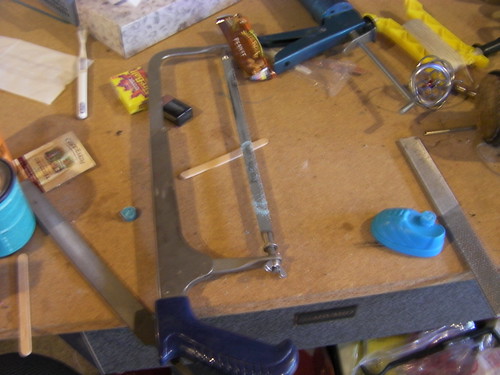
1) Unscrew and open up your Mr. Potato Head

2)
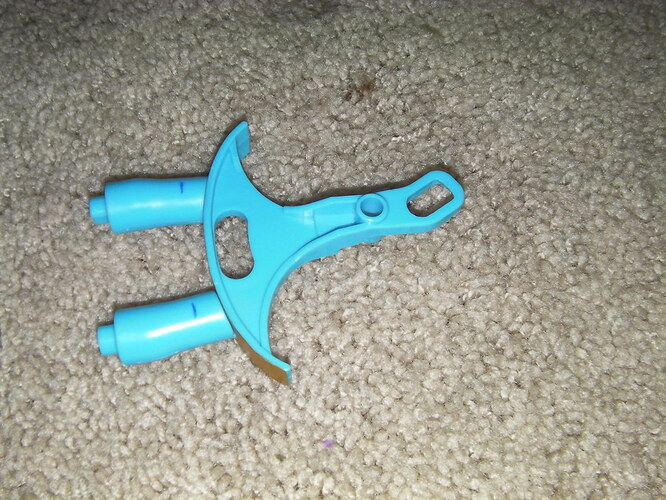
Locate and remove his Blue Leg piece
should look like this
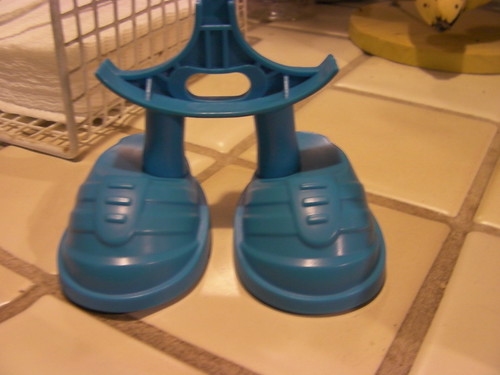
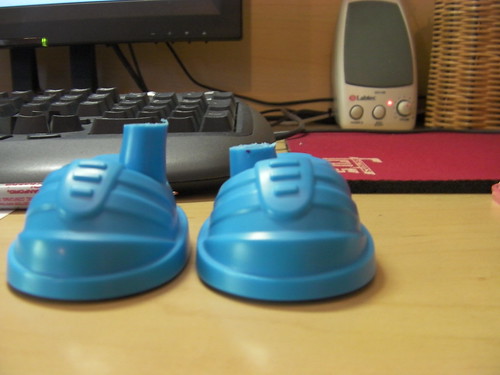
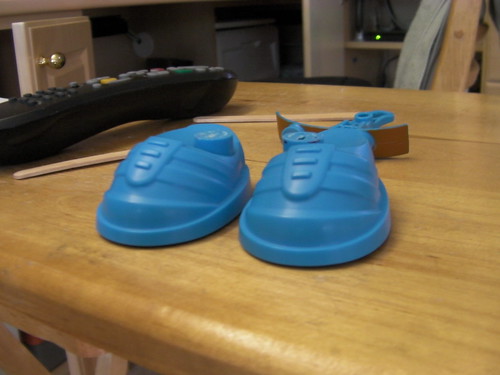
3) Remove his shoes
Now, the screws on the soles of hi shoes are kind of weird. They use specialized triangular screws, which are seen in a lot of restaurant toys. However, using the metal file and the spare screwdriver you can quickly DIY one by filing the points into a triangle. Open up his shoes, and then unscrew the legs from them. Sorry I don’t have any pics for this part, but it’s really not too difficult.

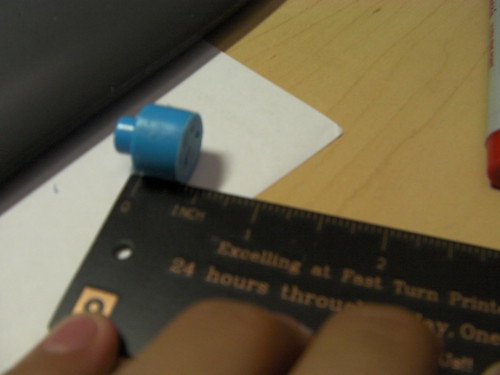
4) Measure about 1/2 inch from the bottom of that U part to his leg
Like this. This will be the cutting line for shortening the legs.

5) Cut along the lines created in part 4.
I suggest using a vice and a hacksaw.
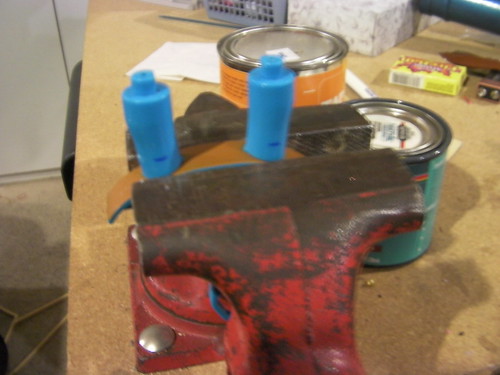
You should get something like this
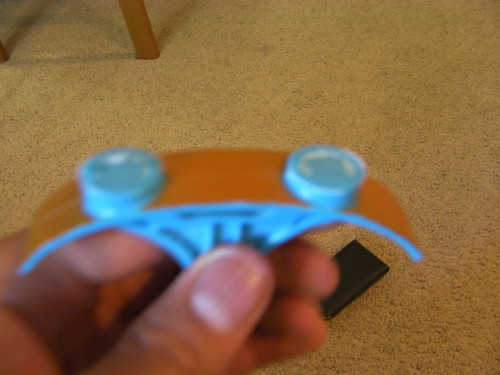
File both points down so that they are even. Make sure, however, that the bottom of the U never touches the metal file.

6) Shorten the removed leg sections
Now, using the removed sections from part 5, mark which one is left and right. Then, shorten down the piece so its almost 1/2 inch long. That way, the total length of your leg pieces, when glued back together, will equal about 1 inch long, just enough clearance for the electronics to work.
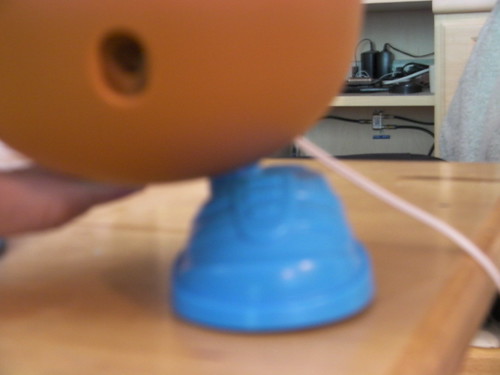
  1. Use Epoxy to glue the pieces back together
    Then, glue both the removed leg sections back to the U shaped connector so that they fit evenly. Be careful, this is how your shoes will be positioned back when you glue your Mr. Potato Head together. I, for instance, really wanted mine to look “presentable” so both of his shoes are slightly closer together and facing frontwards.
    Don’t worry about the seamline, it will be conveniently disguised underneath the Potato
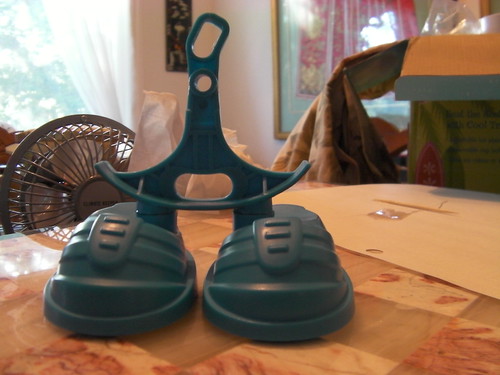
    You’re almost done!

Last Step Finally, attach the blue leg piece back into Mr. Potato Head
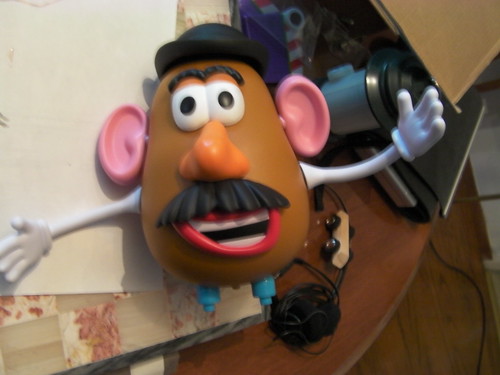
And now you’re done! Not only is your Mr. Potato Head’s legs truly film accurate, but all of the electronics still work with him, and you can remove his shoes whenever you want to! Couple this along with some eyes from TylerHasslet, and you’ve got a real film accurate replica of the character!

So there you go. Not too hard, just takes some work. Just feel free to ask me any questions.
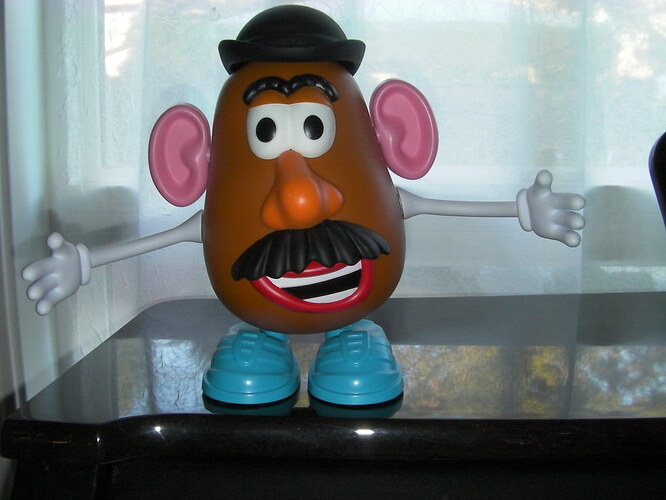
Thanks for this Pixar Builder. These tutorials on TSC Mr. Potato Head and the one for the Aliens are very much appreciated, especially for those like myself who don’t know a thing about modifying toys.

You’re welcome, Flik-E! Just glad to be of assistance!

That is a great tutorial, but there is an alternative to piecing the legs back together, for those who want to try it.

Rather than cutting out the middle section and gluing the pieces, I cut off the desired amount from the bottom. When I reassembled the legs, I added a nylon spacer ring to the recess area inside each shoe. A 1/4" diameter spacer fits perfectly, and once it is filed or ground down to the correct length, it provides all the strength needed when the screw is inserted into the bottom of the shoe/leg assembly. Of course, this approach also requires a slightly longer screw to replace the one removed during disassembly.

The main reason I prefer this method is that the original design of the toy forces the shoes to point forward. But I prefer my Potato Head to have his shoes angled outward. This approach allows for that, without sacrificing anything in terms of balance or function of the electronics.

I posted my full instructions on another forum already, but I will repost them here for anyone who may want to try this alternative approach (many of the steps are the same as Pixar Builder’s):

  1. Pick up the following items from a local hardware or home improvement store:
  • Two 1/4 inch diameter nylon spacers
  • Two #6 brass washers (they usually come in plastic bags with a quantity of 12 or so)
  • Two #4 x 1/2 pan head sheet metal screws (these also usually come in larger quantities)
  1. Using a small Phillips head screwdriver, remove the five screws that attach the front and back halves of the outer shell (one screw is hidden under the battery compartment lid, so you have to remove that first).
  2. CAREFULLY separate the two halves, laying the back portion to one side.
  3. Unscrew the leg assembly from the main body piece using the same screwdriver from step 1. You can now set the body aside.
  4. (this is the hard part) Unscrew and remove the soles of the shoes. If you don’t have a security (triangle head) screwdriver, sometimes a flat one will work, but you will probably have to make one, starting with something like a small Allen wrench (hex key), and either grind or file off three of its edges until it matches the triangle shape of the screws.
  5. Unscrew and separate the shoes from the legs, paying attention to which side of the leg piece faces the front.
  6. Using a hack saw or other means, cut off about 5/8 inch from the bottom of each leg (measurements not including the notched section at the base of each leg).
  7. Using a rasp or file, smooth and level the cuts. You want the new edge surfaces to be exactly even with each other, and exactly the same size. You will also want to make sure that the cuts are slightly beveled such that the legs will lean toward what will be the front of the body. Mr Potato Head has a tendency to be rear-heavy due to the batteries, so you want to compensate for that.
  8. Place the shoes against the new leg bottoms, and mark the position of the screw hole on each leg with a mechanical pencil.
  9. Drill a small hole (about 1/16th diameter) in each leg at the pencil marks.
  10. Grind or file the ends of the nylon spacers until they are the same height as the small notched recesses in the shoes (where the narrower part that has now been cut off of the legs used to go). The spacers will be used to reinforce the screws when reattaching everything.
  11. Using one of the new screws and a brass washer, thread the screw through the washer, into the hole in the shoe, and place a spacer over the screw inside the recess. Screw into the pilot hole you drilled previously, and tighten, but DO NOT OVER-TIGHTEN. Repeat for the other shoe.
  12. Reattach the leg assembly to the body, and then reattach the two body halves.

That is an awesome tutorial as well RoboDad, and I kind of wish I had read that one before starting mine! It actually took me a while to figure out how exactly to cut the legs as I was initially thinking of using a dremel tool before hacksaw.

Actually, I really did think about simply sawing off the end pieces (like in your idea), originally, instead of gluing both end pieces back to the U frame. The main reason I decided with mine, was that since the shoes are attached to the legs with that unique end peg, if I simply shortened the legs by cutting the parts down, I would sacrifice being able to remove Potato’s shoes easily. And I really wanted him to function as a normal Potato Head, as well as a movable electronic one.

Also, with my method, it doesn’t force the shoes to face forward, I just wanted to do so. You can position the shoes any direction you want to, as soon as you’re gluing them back on to the U frame.

But I really do like your method, for keeping the legs and shoes permanently together. I just really wanted to be able to remove his shoes easily from time to time, like in the movies.

Amazing I Love it :smiley: Need to do this with mine

Great tutorial. You are an amazing Sid.

Does anyone’s method allow for the shoes to be removable, but doesn’t have those pegs sticking out him him while detached?

Tyler Haslett has a method, in theory, but Ive yet to see anyone actually try it. it involves cutting a hole in the U part for the pegs to insert into. sounds good in theory, but it sounds like it requires more precision cutting. cut too far and you risk cutting into the support lips or whatever.

I haven’t done mine yet because Ive been waiting to hear the best method, one I can hopefully do with my little experience with this.

I have a question, how loose are the feet connected? can you pick him up without them falling out?

Haslett, is the correct spelling, You can just put Tyler H though, haha. I kid I kid.

On the leg mod I outlined to you Kyle, that was under the circumstances of using a dremel, and other rotary bits. The above tutorial is the best route to go as it was near exact to what I did on my Mr. P, with the exception of cutting the legs flush on the curved “pelvic” section, so there is are no visible added seams.

Great tutorial. One suggestion I would make is to make the cuts flush to the curved piece, so there is no visible seam line.

Good point about angling the feet, Pixar Builder. I hadn’t thought of that before you mentioned it. And it is true that my method doesn’t allow for the shoes to be removed, but that wasn’t something that was important to me.

Still now people have TWO sets of workable instructions for shortening the Spud’s legs, and either way they will be a thousand percent better than the poor stretch-o-legs that come out of the box!

Legs shortened and seperate eyes and brows and its what I’ve wanted since 95. (just with the “Mods” came stock!)

Tyler, can’t you make a tutorial like he did it but about the eyes???

Tyler got banned months ago, so he’s not going to make you a tutorial, sorry.

Awwwww I want seperate eyes so bad on my mr p :neutral_face:

do any of you guys find it ironic that one of potato head’s sayings is, “if it ain’t broke, keep it the way it is!” ?

Not really, especially considering how his inaccuracy can be considered a “mistake” of his design.